Canon E470 connect to wireless or wifi
Have you tried few times to connect this canon E470 printer to working wireless but failed. You carefully follow these instruction but still failed. Here are step how to connect Canon printer E470 to wireless or wifi. Lets spend another few minutes of your life to try this step and please take note on the important remark in red below.
- Please turn on the printer unless its forever failed.
- Press and hold Wireless button until lamp flashes and then release it.
- Press Black/Color button.
- Press Wireless button once or until Network lamp turn on.
- Press Back/Color button.
- The printer should be ready to use now . Please use and install this setup again and find it in your wifi.It should be appear.
*Important: Please connect your wifi to 2.4g instead of 5g. Both printer and device such as phone or computer. All need in the same 2.4g network
canon E470 wireless printer ready to setup
To install in your mobile phone, please search ‘canon PRINT inkjet/SELPHY‘ in your prefer phone store either android or iphone. Once installed just follow instruction and also make sure you also are connect to wireless 2.4g
Some other function this model too it also can do wireless scan and directly save in your laptop or mobile depends you scan in which device. Just click scanner menu and the wizard will help you for necessary step.
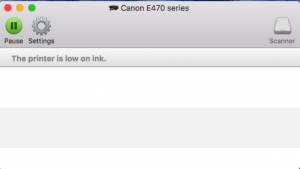
E470 wireless scanner function
Here are also some posting you might interested to read too